With a multi-branch enterprise, one has to deal with global trends as well as offer great services in high quantity.
Adding all of your locations under one Qminder account lets you compare location and employee performance — even on a global scale. With multiple locations, you can have a clear overview of every location's performance and volume numbers.
LOCATIONS TAB
In the Locations tab you will get a quick summary of all the added locations in Qminder. Clicking on the location's name will allow you to change the settings for that location. Clicking on the graph icon in the top right corner of the location will take you to that location's Overview page.
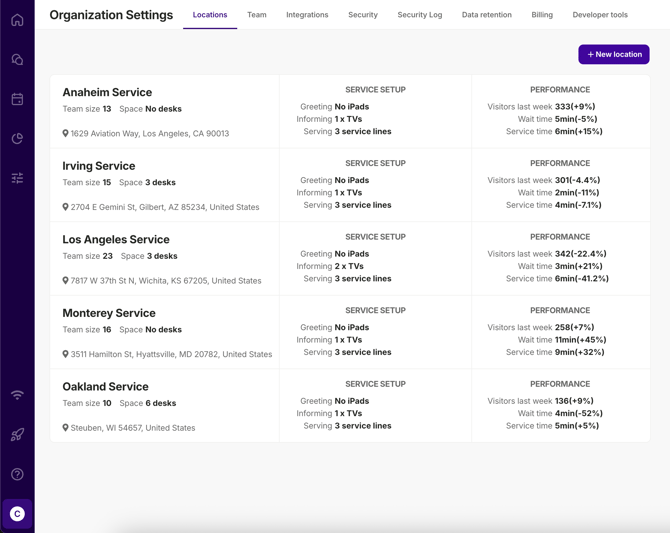
You can see each location's setup traits which can help you to understand the differences in the performance numbers and the statistics on the locations list will quickly allow you to:
-
compare performance numbers of all the locations,
-
pinpoint the differences and
-
notice changes compared to last week's performance.
Is it time for location A to adapt the same line setup which is in location B?
Did the team size increase in location C significantly decrease the wait time?
The location list and the statistics in the Overview will answer those questions. Examine the data, compare the numbers and investigate the reason behind the change.
NB! In order to maximize the comparison value, configure all your locations with the same line and input field configuration. Standardized lines will allow you to compare each location's graphs and statistics side-by-side.
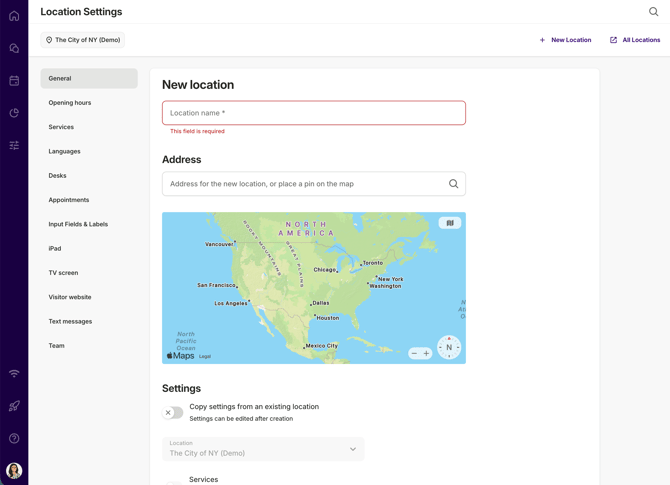
ADDING A NEW LOCATION
Owner and Administrator users can add a new location from the Locations tab, by clicking on +New location in the upper right corner.

Give the new location a name and add an address. You can also zoom in on the map and select the location's physical position. Make sure to add the correct address as the time zone and data times are based on the registered location.
Copy Settings
To copy settings from an already existing location:
-
Click on the Copy Settings switch.
-
Choose the location which settings you wish to use from the drop-down menu.
-
Decide which settings you wish to copy (Lines, Input Fields and SMS) and click on the respective switches.
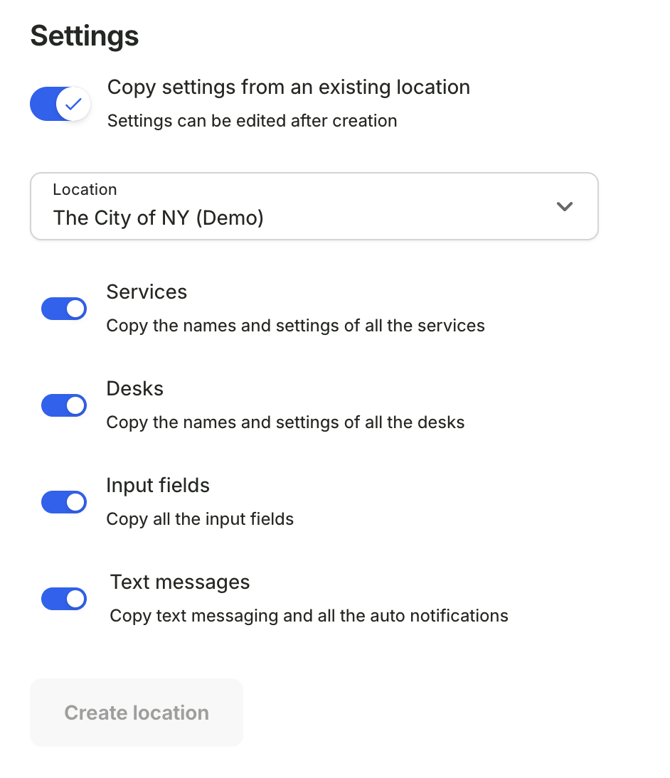
To finish the location creation process, click on the Create location button at the bottom of the page.
To make sure all employees can access Qminder, don't forget to invite that location's team members.
REMOVING A LOCATION
Go to the Location settings page, scroll to the bottom of the General setting and click Delete location.
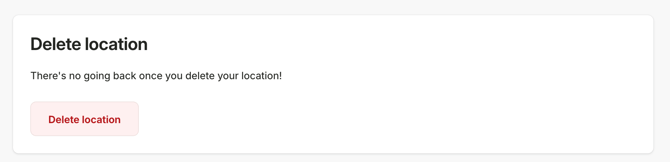
All users, configuration and data will be lost.
This is a permanent deletion of the location and there is no going back once you do that.