Self-check-in for Appointments allows visitors to mark themselves as arrived for a booking without staff assistance.
When enabled, visitors can check in directly from their appointment confirmation page, and Qminder automatically updates their status to Checked in in both Calendar and Service View.
This helps staff track arrivals in real time and start serving faster.
How visitors use self-check-in
After booking, visitors end up on a confirmation page link. See how visitors reach this page in How visitors book appointments.
That page becomes their self-check-in point.
💡 Good practice
Use your appointment reminder message to give visitors clear, pre-visit instructions and a direct appointment link for check-in. This helps if they didn’t bookmark the page, closed the tab, or booked their visit a long time ago.
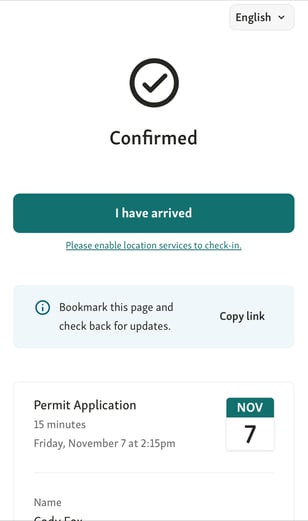
When self-check-in is enabled, the confirmation page includes a button:
I have arrived
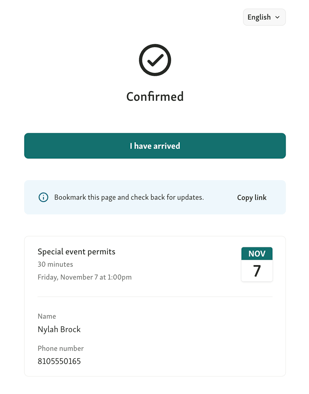
How and when this button becomes active depends on your setup.
📖 Learn more about various setup options in our article Set up self check-in for Appointments
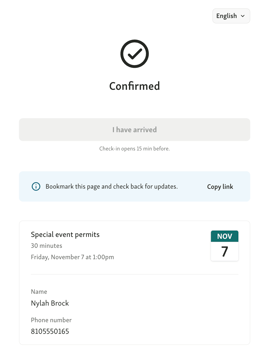
1. No Geofencing enabled (remote sign-in allowed)
Visitors can check in from anywhere once the check-in window opens.
-
Before the window opens:
The button is disabled with a message about the check-in window, for example:“Check-in opens 15 minutes before.”
-
When the check-in window opens:
The I have arrived button activates.

-
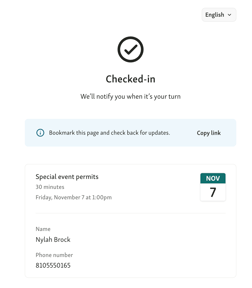
After check-in:
The page updates to Checked in, with the message “We’ll notify you when it’s your turn.” If you have confirmation & notifications for Appointments enabled, then the visitor will also receive the usual SMS.
2. With Geofencing enabled (on-site check-in required)
If Geofencing is enabled, visitors can only check in once they’re physically near your location (~ 600 feet / 200 meters). 📖 Learn more about Geofencing.
When location access is requested
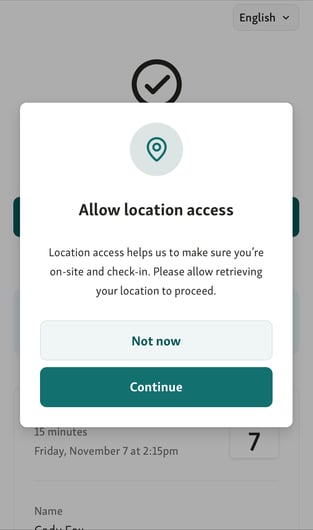
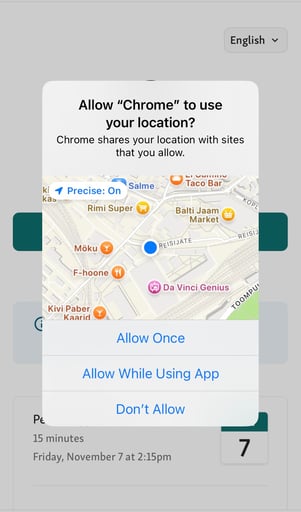
When visitors open the confirmation page for an appointment and Geofencing is enabled, the page requests permission to use their location.
They’ll see a prompt such as:
“Allow location access”
Location access helps us make sure you’re on-site and check in.
-
If the visitor selects “Not now”:
The page stays on the confirmation view, but the visitor cannot check in.
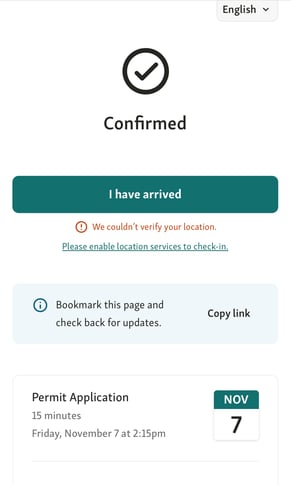
They’ll see the message:
“Please enable location services to check in.”
-
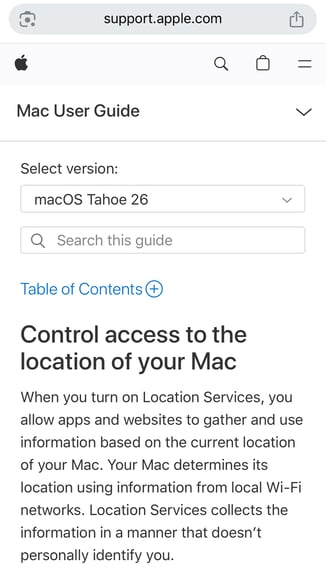
NB! Please enable location services to check in: opens up a link to troubleshoot the Location Access on the phone/browser. For example, on iPhone:
-
If the visitor clicks “Continue”:
What happens next depends on their browser’s previous permissions:
-
If location access was previously denied (e.g. “Never allow”):
Nothing happens & Qminder cannot retrieve location data.
We show a modal error:
“We couldn’t verify your location.
You need to be on-site to sign in.”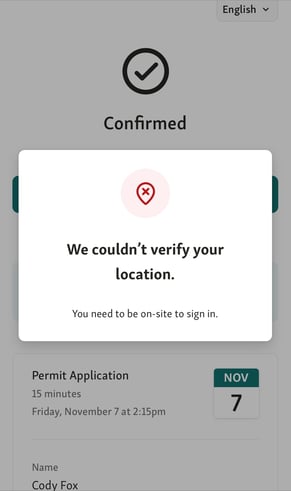
-
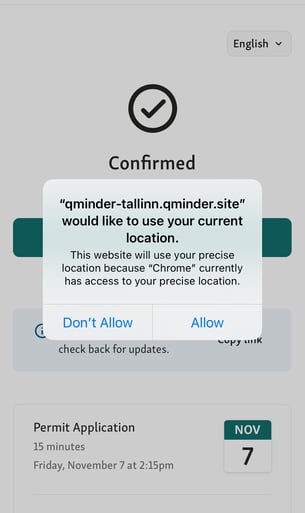
If the browser is set to “Ask next time or when I share”:
The browser displays a new system prompt asking to allow access.
Once the visitor allows, location detection begins.
-
-
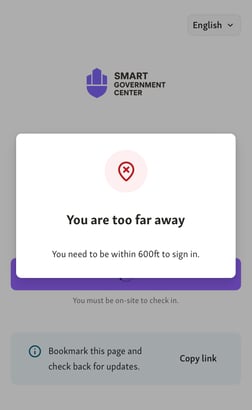
If the visitor is outside the allowed area:
A modal appears stating:
“You are too far away.”
“You need to be within 600ft/200 meters to sign in.”

-
After successful check-in:
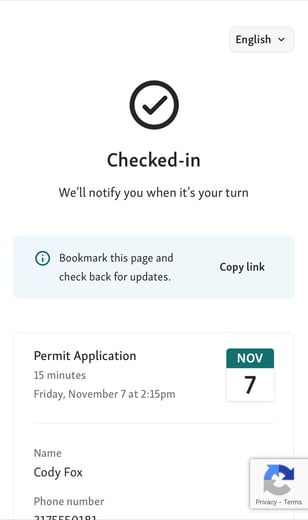
The page updates to Checked in, with the message “We’ll notify you when it’s your turn.” If you have confirmation & notifications for Appointments enabled, then the visitor will also receive the usual SMS.
Continue with serving appointment visitors in Service View.