
When customizing the flow in the sign-in app, you have a variety of options. You can include the following types of views to the flow:
-
ask for a phone number and an email address
-
let visitors choose a service they're in for
-
display custom text
-
ask custom questions
-
make branching choice-based sign-in flows
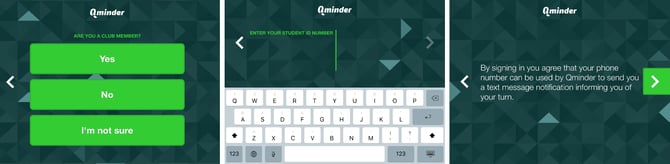
To get to the iPad settings, go to the Location Settings section of your dashboard. Click on iPads, and choose the one you want to make changes to. Bear in mind that these changes will apply to the location you have chosen from the upper left corner (unless the account only has one location).
⭐ For multi-location accounts, iPad settings can be copied from one location to another.
1. General iPad settings
You have various options to adjust on the screen when working on the iPad editor.
-
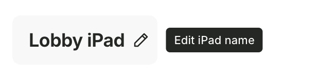
The upper left corner lets you set and change the name for this particular iPad. Click the iPad name to rename it.
-
The upper right corner features action buttons to:
-
Discard changes
-
Save and go live
-
Zoom in
-
Zoom out
-
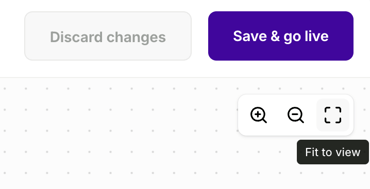
Fit to view
-
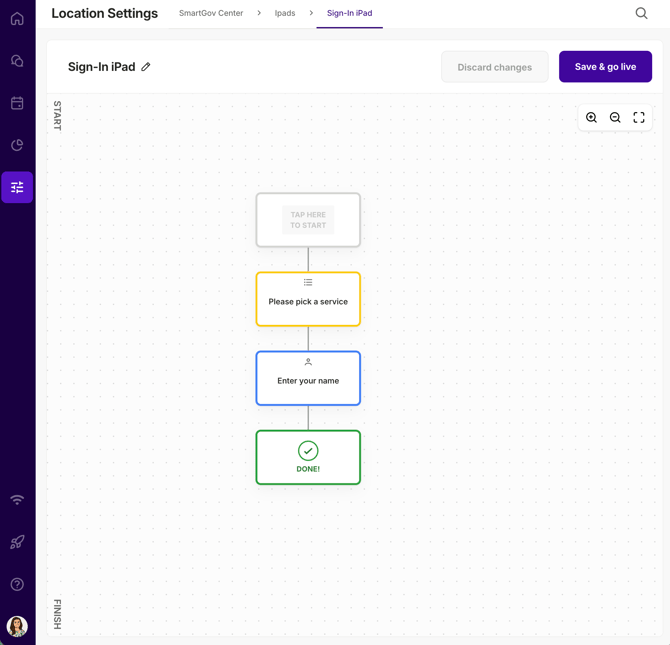
Getting around the canvas: drag any empty part of the canvas to move around your flow. Use Zoom in / Zoom out to get closer or further, and Fit to view to see the whole flow at once.
2. The iPad sign-in flow
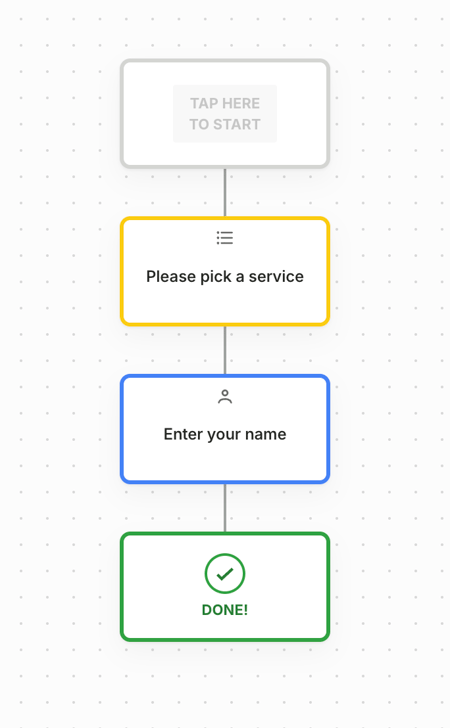
The main view of the iPad editor depicts the visitor sign-in flow view by view.
2.1. Mandatory views
The sign-in flow always...
-
begins with the TAP HERE TO START view
-
includes the view to choose preferred language. See more about Languages in our article How to display multiple languages on the iPad?
-
includes the view where the available services are listed
-
includes the view that asks for the visitor's name
-
ends with the final view that confirms the visitor has been added to the queue

2.2. Add a new view
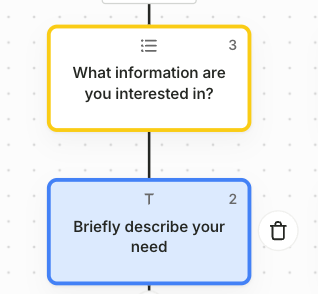
When you have several views of the same type, each tile shows a number so you can tell them apart.
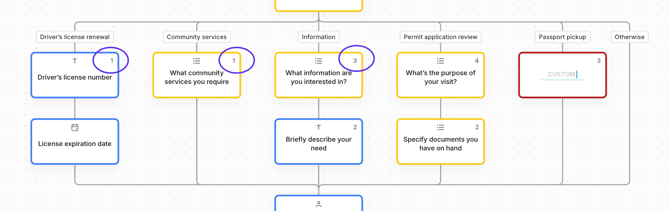
You can customize the sign-in flow by adding new views that suit your business needs. Drag and drop tiles to change their order in the flow.
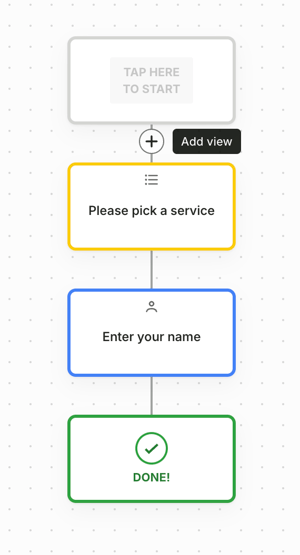
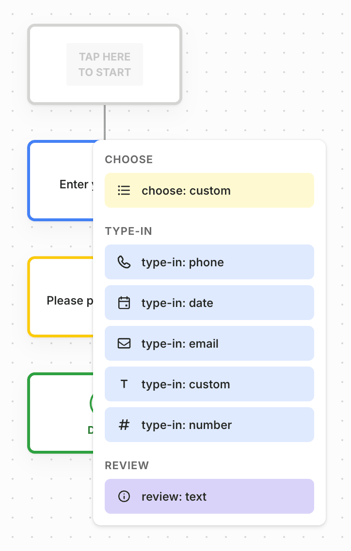
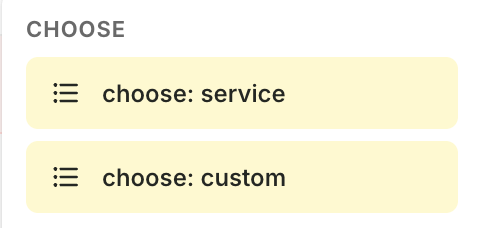
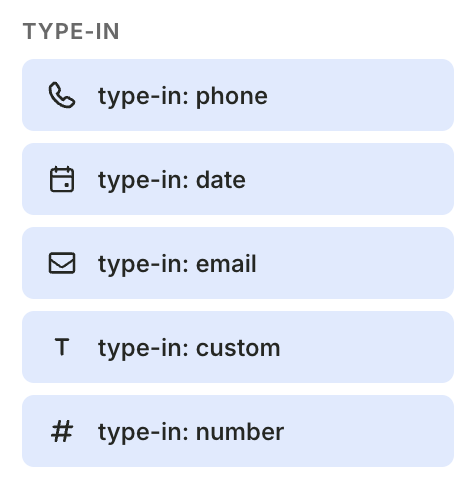
To add a view, hover your mouse between two tiles (or under the last one). A + button appears on the connection; click it and choose the view type from the drop-down menu:
-
choose: service - visitors select the service they're in for
-
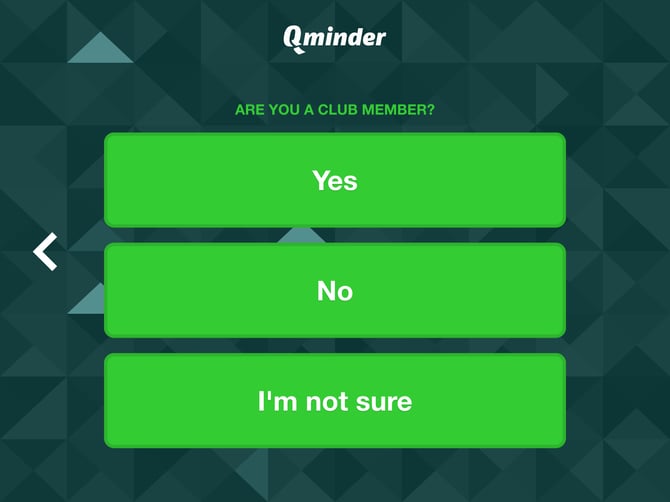
choose: custom - visitor chooses from the pre-defined options
-
type-in: phone - visitor enters their phone number
-
type-in: date - visitor enters date
-
type-in: email - visitor enters their email address
-
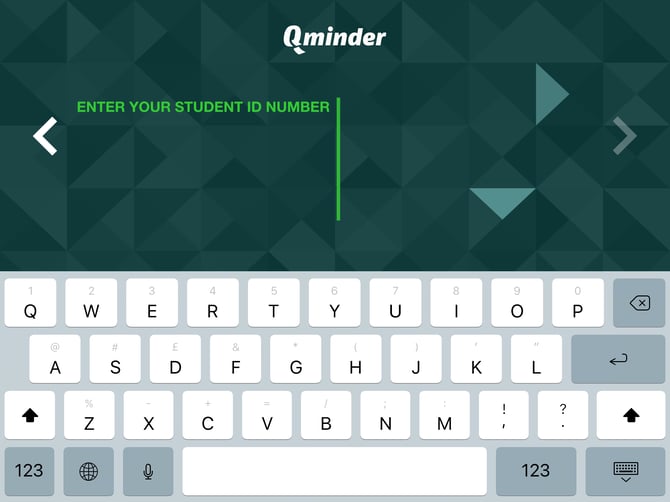
type-in: custom - visitor types in custom information
-
type-in: number - visitor enters number
-
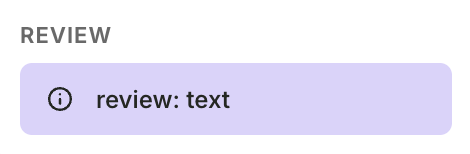
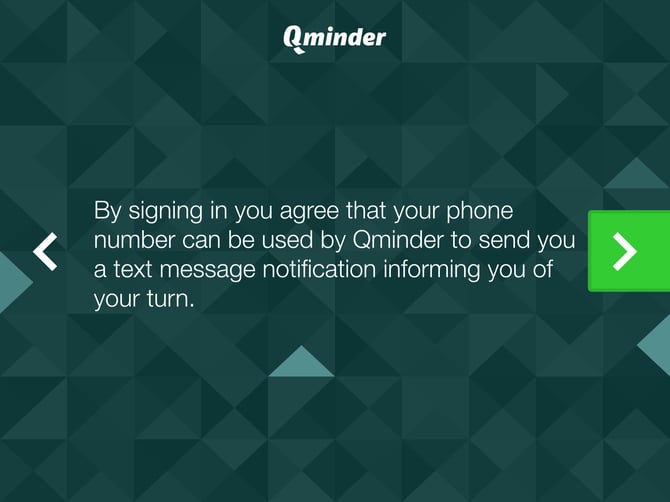
review: text - display custom information for the visitor to read
3. Edit view details
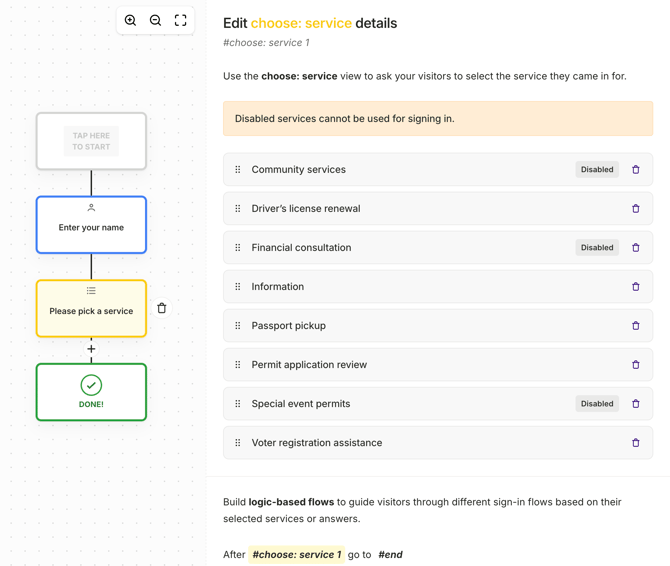
On the right side of the iPad settings page, you can see specific details for each sign-in flow view.
3.1. Customize the view
Click any tile to open its details on the right.
Each view has its own options; follow the instructions on the screen and make changes to suit your location. To close the details, click the tile again or click an empty spot on the canvas.
3.2. Delete a view
To remove a view, click its tile to select it, then click the delete (trash) icon. You'll only see the delete option once the tile is selected
3.2. Save changes
After making any changes to the view details, click SAVE & GO LIVE in the top right corner of the page to save the changes: the iPad will then refresh and update accordingly.

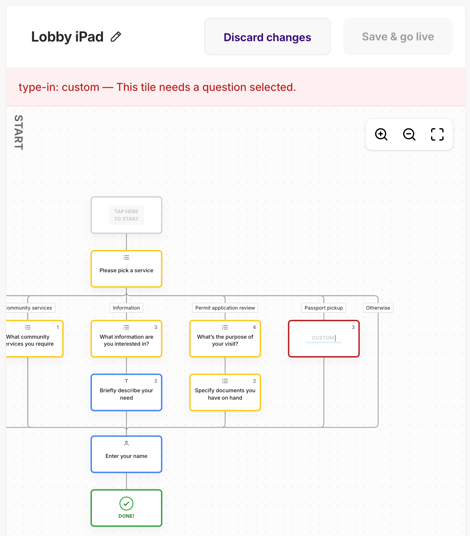
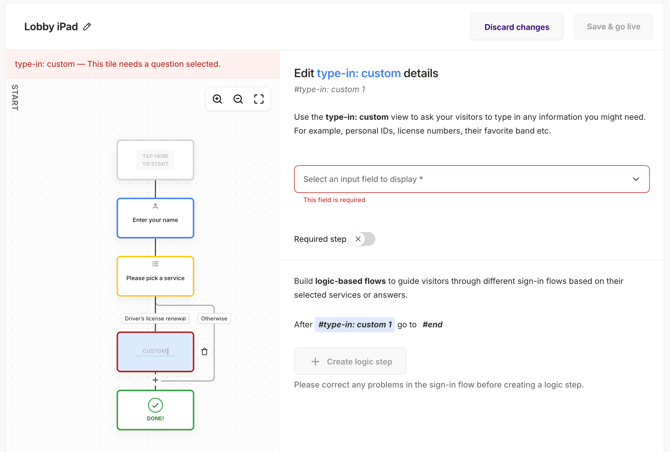
If something in your flow still needs attention (for example, a logic step that's missing a question) a message appears at the top of the editor, and you won't be able to go live until it's fixed. Follow the message, complete the highlighted view, and save again.
3.3. Create logic steps
You can create advanced sign-in flows to gather exact data from your visitors based on their specific choices. If a visitor comes in for an appointment, ask them the name of the clerk they are here to see. Show questions based on the visitor’s answers. Use the logic steps to collect more information from key groups without slowing down the visitor flow. Use multiple logic rules to show people different service lines, based on their previous answers.
Start by clicking on the + CREATE LOGIC STEP button on the bottom of the Edit Details side of the page.
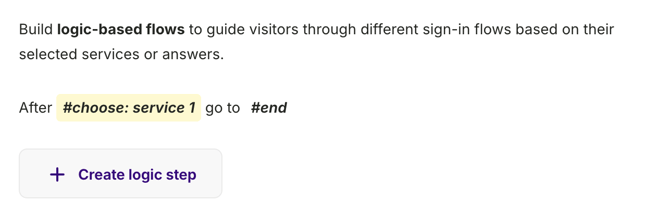
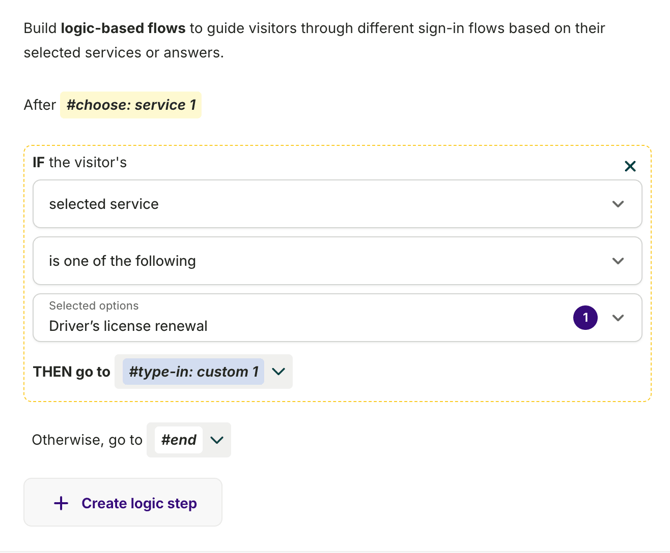
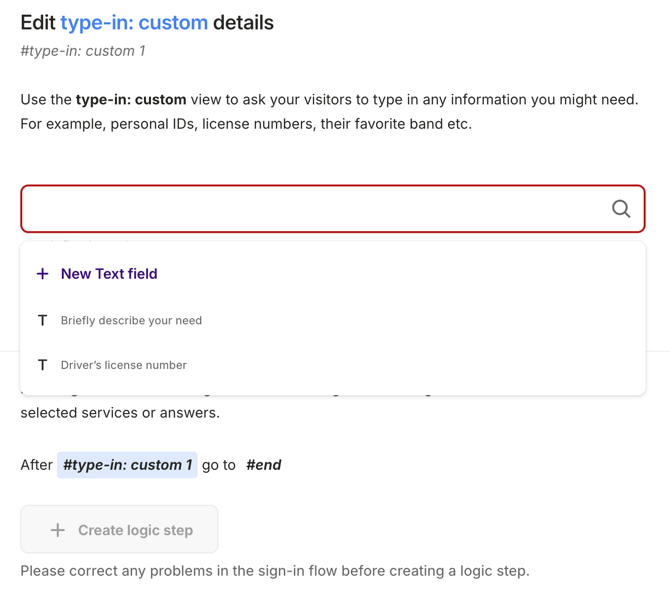
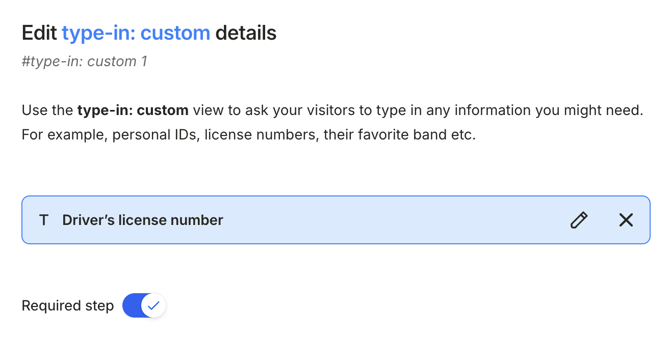
Note: you can make a view required to be filled
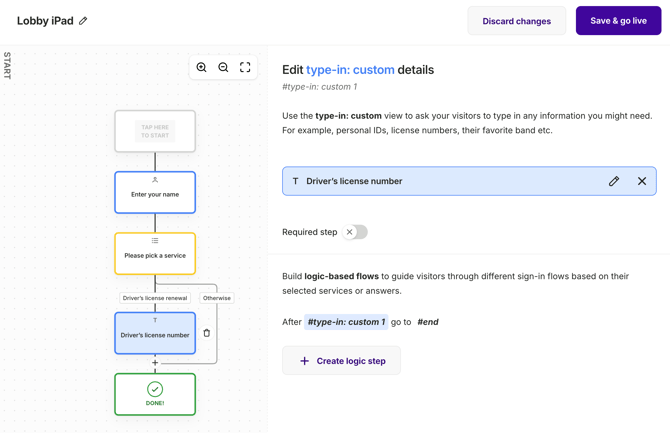
You can proceed with the same process for any service OR any other view you would like to create additional branching logic for.
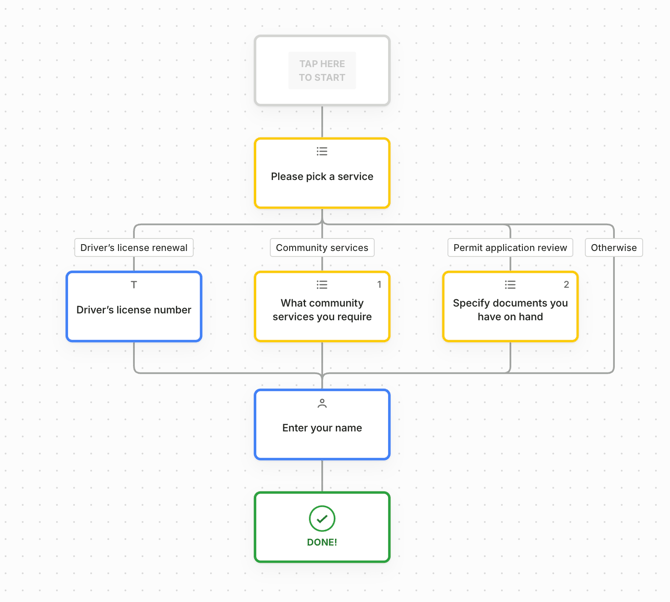
Each branching view has a corresponding input field attached to it:
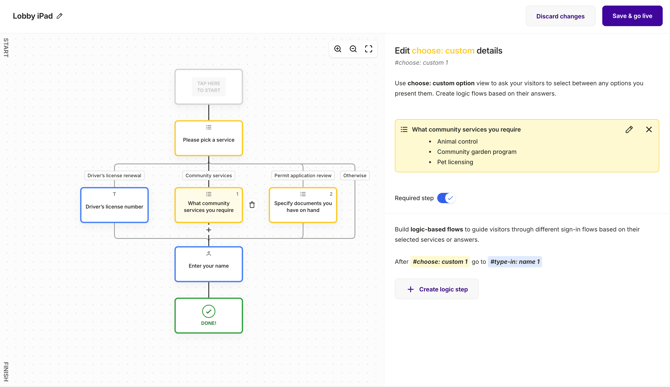
Follow the instructions on the Edit Details side of the page to finish the logic step. You can also drag and drop the views to easily change the flow order.
Once you're done with the changes, don't forget to click SAVE & GO LIVE on the top right corner of the page.