You can set up automated text messages for appointments (confirmations, reminders, cancellations) and in-location flow (waiting list, being called, post-service). All messages are text messages (SMS & RCS) only for now.

Text messaging is only available for Business Plan subscribers.
Register phone numbers
In order to send a text to a visitor, that visitor's phone number must be added first. There are two ways to do that:
-
Let the clerk insert the phone number using the phone number input field.
-
Let the visitor type their phone number in through the sign-in app for the iPad.
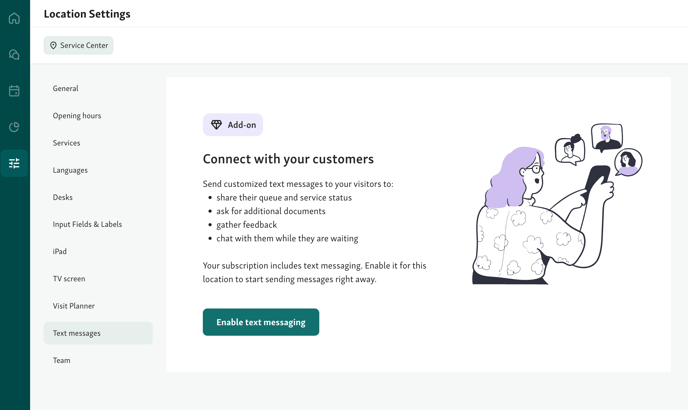
Enable messaging
To enable chat text messages, go to the Location Settings tab and then go to Text messaging. Click on Enable text messaging.
This turns on both automatic messages and Two-way chat.
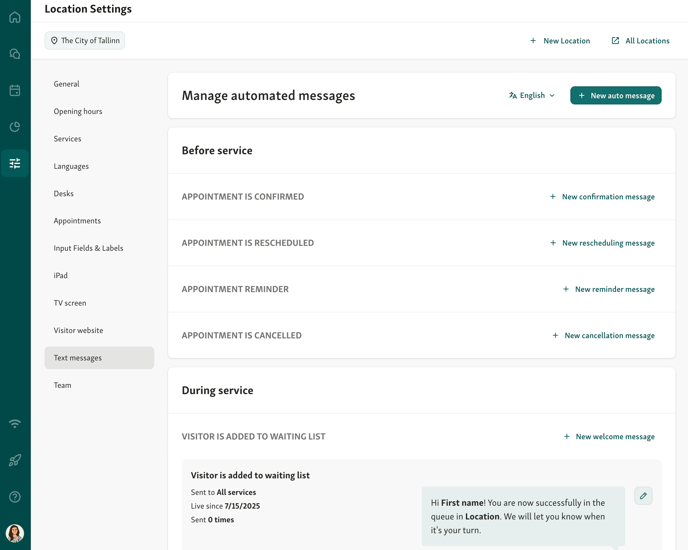
Configure auto messages
-
You can create a new message by clicking on + New auto message button.
-
You can edit existing auto messages by clicking the pencil icon on the right side of the message.
-
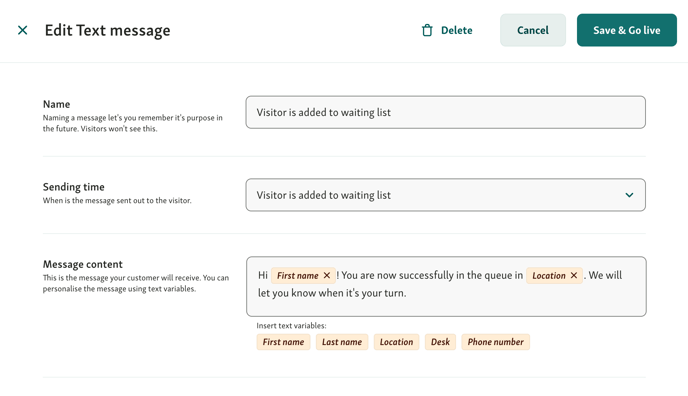
You can customize the type, name and line of each auto message. Each line can have a unique specialized message.
Automated Message types
Qminder supports automated SMS messages triggered by specific visitor actions or appointment events. You can set up different types of text messages depending on what you want to notify visitors about.
There are two main categories of messages:
🗓 Appointment messages (if you use Qminder Appointments)
This section is shown only to customers who have Appointments enabled. If the section is missing you have to enable Appointments first: How to enable Appointments for your location.
These messages are triggered before the visitor arrives, based on appointment activity:
-
Appointment is confirmed
Sent when a visitor books a new appointment.
-
Appointment is rescheduled
Sent when the visitor reschedules their booking.
-
Appointment reminder
Sent ahead of the appointment (you choose the lead time — e.g. 1 day or 2 hours before).
-
Appointment is cancelled
Sent when the visitor cancels.

You can customize all appointment messages, add variables like the visitor’s name, appointment time, or location — and even translate them into different languages.
👉 See Confirmation & notifications for Appointments for full setup instructions.
🏢 Service messages (for walk-ins or appointment-holders once they check in)
These are sent during and after the service flow, based on real-time activity:
-
Visitor is added to waiting list
Sent when a visitor joins the queue — manually or by checking in.
-
Visitor is being called
Sent when a staff member calls the visitor.
-
Visitor is being called to a desk
Includes desk or location details, if configured. If the calling clerk has selected a desk, then the visitor will receive a message that informs it's their turn and which desk to come to. This feature also works with named desks.

-
After successful service
Sent once the visitor’s service has ended. Ideal for sending thank-you notes or follow-up links.
After a visitor has been served, you ask them for feedback or remind them to come back next time. You can set the time of delivery to be either immediately, or 1 hour or 24 hours after the service. Read more about the use of post-service SMS here!

📌 Notes & clarifications:
-
These messages are SMS only. No email notifications are currently supported.
-
Translations are optional but recommended. Visitors will receive the SMS in the language they selected during check-in.
-
All message types are created and edited under Location Settings → Text messages.
How rules work per service
Each service can have one automated text message per type (e.g. one “Visitor is being called” message).
If you create a rule for All services and also set one up for a specific service, the service-specific message takes priority.
Example:
You set up an “After service” message for All services: “Thanks for visiting!”
You also create a custom one for “Tech Support”: “Thanks for your visit to the IT desk!”
👉 Visitors of “Tech Support” will receive the desk-specific message. Everyone else gets the default.
🛎 Exception: Appointment reminders
The “Appointment reminder” message type is special — you can create two messages per service, as long as they have different lead times.
For example:
-
Reminder 1: sent 1 day before
-
Reminder 2: sent 1 hour before
This allows you to remind visitors at multiple points leading up to their visit.
🧠 Smart validation helps you stay on track
Qminder is designed with ease of use and clarity in mind.
If your message setup doesn’t follow the rule logic, the system will:
-
Show a clear error message
(e.g. when an “All services” rule already exists)
-
Prevent saving invalid rules
-
Disable selection for services that already have an active message of that type
💡 This helps you avoid duplicates or conflicts — and ensures your visitors only receive the message that’s intended for them.
📸 Example:

In this case, a general message is already live. You’ll need to remove it or switch to a service-specific setup.
📸 Disabled service selector:

Services with an active message will be greyed out, making it easy to see what’s available at a glance.
Customize the content of the message
You can change the content of the message in the text field box.
Make sure to save your changes by pressing the Save & Go live button!
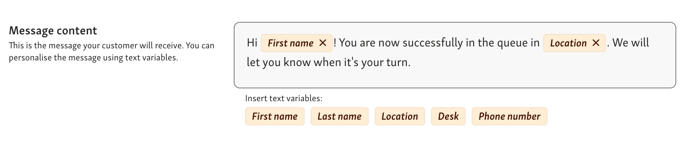
The words highlighted in yellow are pre-defined placeholders which change value accordingly to actual information. To add a placeholder, click on the yellow buttons below the text box. To delete the placeholder, simply click the on the X next to the placeholder.
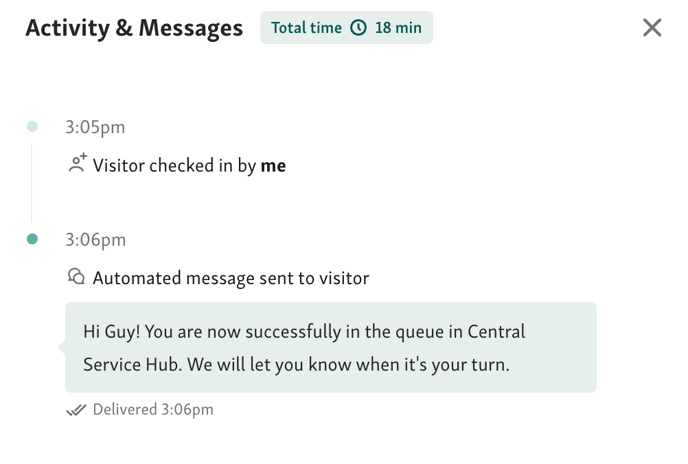
You can see all messages that have been sent out in the Activity log in a visitor's details.
Why use automatic messages
Text Message notification is a convenient and modern way of greeting and notifying visitors.
You can send a welcoming message that lets the visitor know they're in the queue. You can use it to send information to your visitors or just to give them peace of mind.
Do they have their documents ready? What's the Wi-Fi password? Have they grabbed a cup of complementary coffee?
How visitors can opt out and back in to text messages
Visitors can easily opt out of receiving automated text messages by replying with STOP, STOPALL, UNSUBSCRIBE, CANCEL, END, or QUIT. These keywords are recognized by our SMS provider, Twilio, and will immediately block further messages from Qminder to that phone number.
If a visitor wants to receive messages again, they can simply reply with START, YES, or UNSTOP to opt back in.
💡 These keywords are managed automatically by Twilio - no action is needed from staff to handle opt-outs or opt-ins.